Create an Escoria project
Escoria’s main design is centred around its core addon which supports the developer with functionality and features to make developing adventure games as easy and streamlined as possible.
At the same time, Escoria aims to give a lot of freedom to the developer with regard to the design of the game and its interface.
Because of this, user interfaces are kept separate from the core, as are dialog managers. This allows for the ease of swapping out implementations of either that best suit your game. You can use one made completely from scratch, or, to help get you started, you can use one from Escoria’s GitHub repositories.
To make starting with Escoria as easy as possible, we provide a demo game that comes with stock user interfaces and dialog managers to get you up and running in no time.
Hint
Previous versions of Escoria were made available in Godot’s Asset Library. To make sure you have the latest version of Escoria, we recommend you clone the Escoria Demo Game repository and modify/replace the addons as needed. We walk through this more below!
Game filesystem structure
Before any files are created, it’s important to point out that there is no mandated filesystem structure for your game. For example, you may choose to organise your files by :
purpose (e.g. “/items”, “/scripts”, “/sprites”)
room (e.g. “/room_ballroom”, “/room_study”)
a combination of the two (e.g. “/room_ballroom/scripts”, “/room_ballroom/items” etc.)
some other structure
You are not restricted to the structure used by this demonstration project: Use whatever makes sense for your game.
Starting a new Escoria project
The best way to get started with Escoria is to clone the Escoria Demo Game from GitHub. Once cloned, you can add, change, or edit any of the stock plugins that come with the cloned repository.
Note
All of the stock plugins for Escoria are available separately through Escoria’s repositories, though at the time of writing, the most up-to-date versions of the plugins are in Escoria Demo Game.
Start the Godot editor and, through the Project Manager, navigate to and open the Escoria project you just cloned.
The game will now appear in your editor.
Warning
After the editor loads the game for the first time, you may need to quit to the project manager and reopen the game to let Escoria initialize properly.
If you launched Godot from a terminal then the terminal will display error messages at this stage: These messages can be safely ignored.
Changing the stock plugins
UI
For simplicity’s sake in this guide, we will show how to change the UI to one of the other available stock UIs that Escoria provides. You will probably want to use one of them as a starting point for your own game UI.
The stock UIs for Escoria are distributed as Godot addons, with all of them available through the Escoria Demo Game.
Adding a new or completely separate UI is a matter of adding a new directory
to under the addons/ directory (e.g. addons/my-ui/) alongside any
other plugins.
To select Open your project settings, switch to the Plugins tab, find the UI addon you want to use, and enable it.

Dialog manager
Usually, a game made with Escoria uses dialog choices as well as the say
command as narrative elements. While the basic dialog handling and the say
command are included in the core, a user interface that displays those lines
isn’t.
Like the UI plugin, the available stock dialog manager that Escoria provides makes getting started with Escoria easy, and you will probably want to use it as a starting point for your own dialog manager.
Like the stock UIs, the dialog manager is distributed as a Godot addon and can be switched in exactly the same way as the UI plugin.
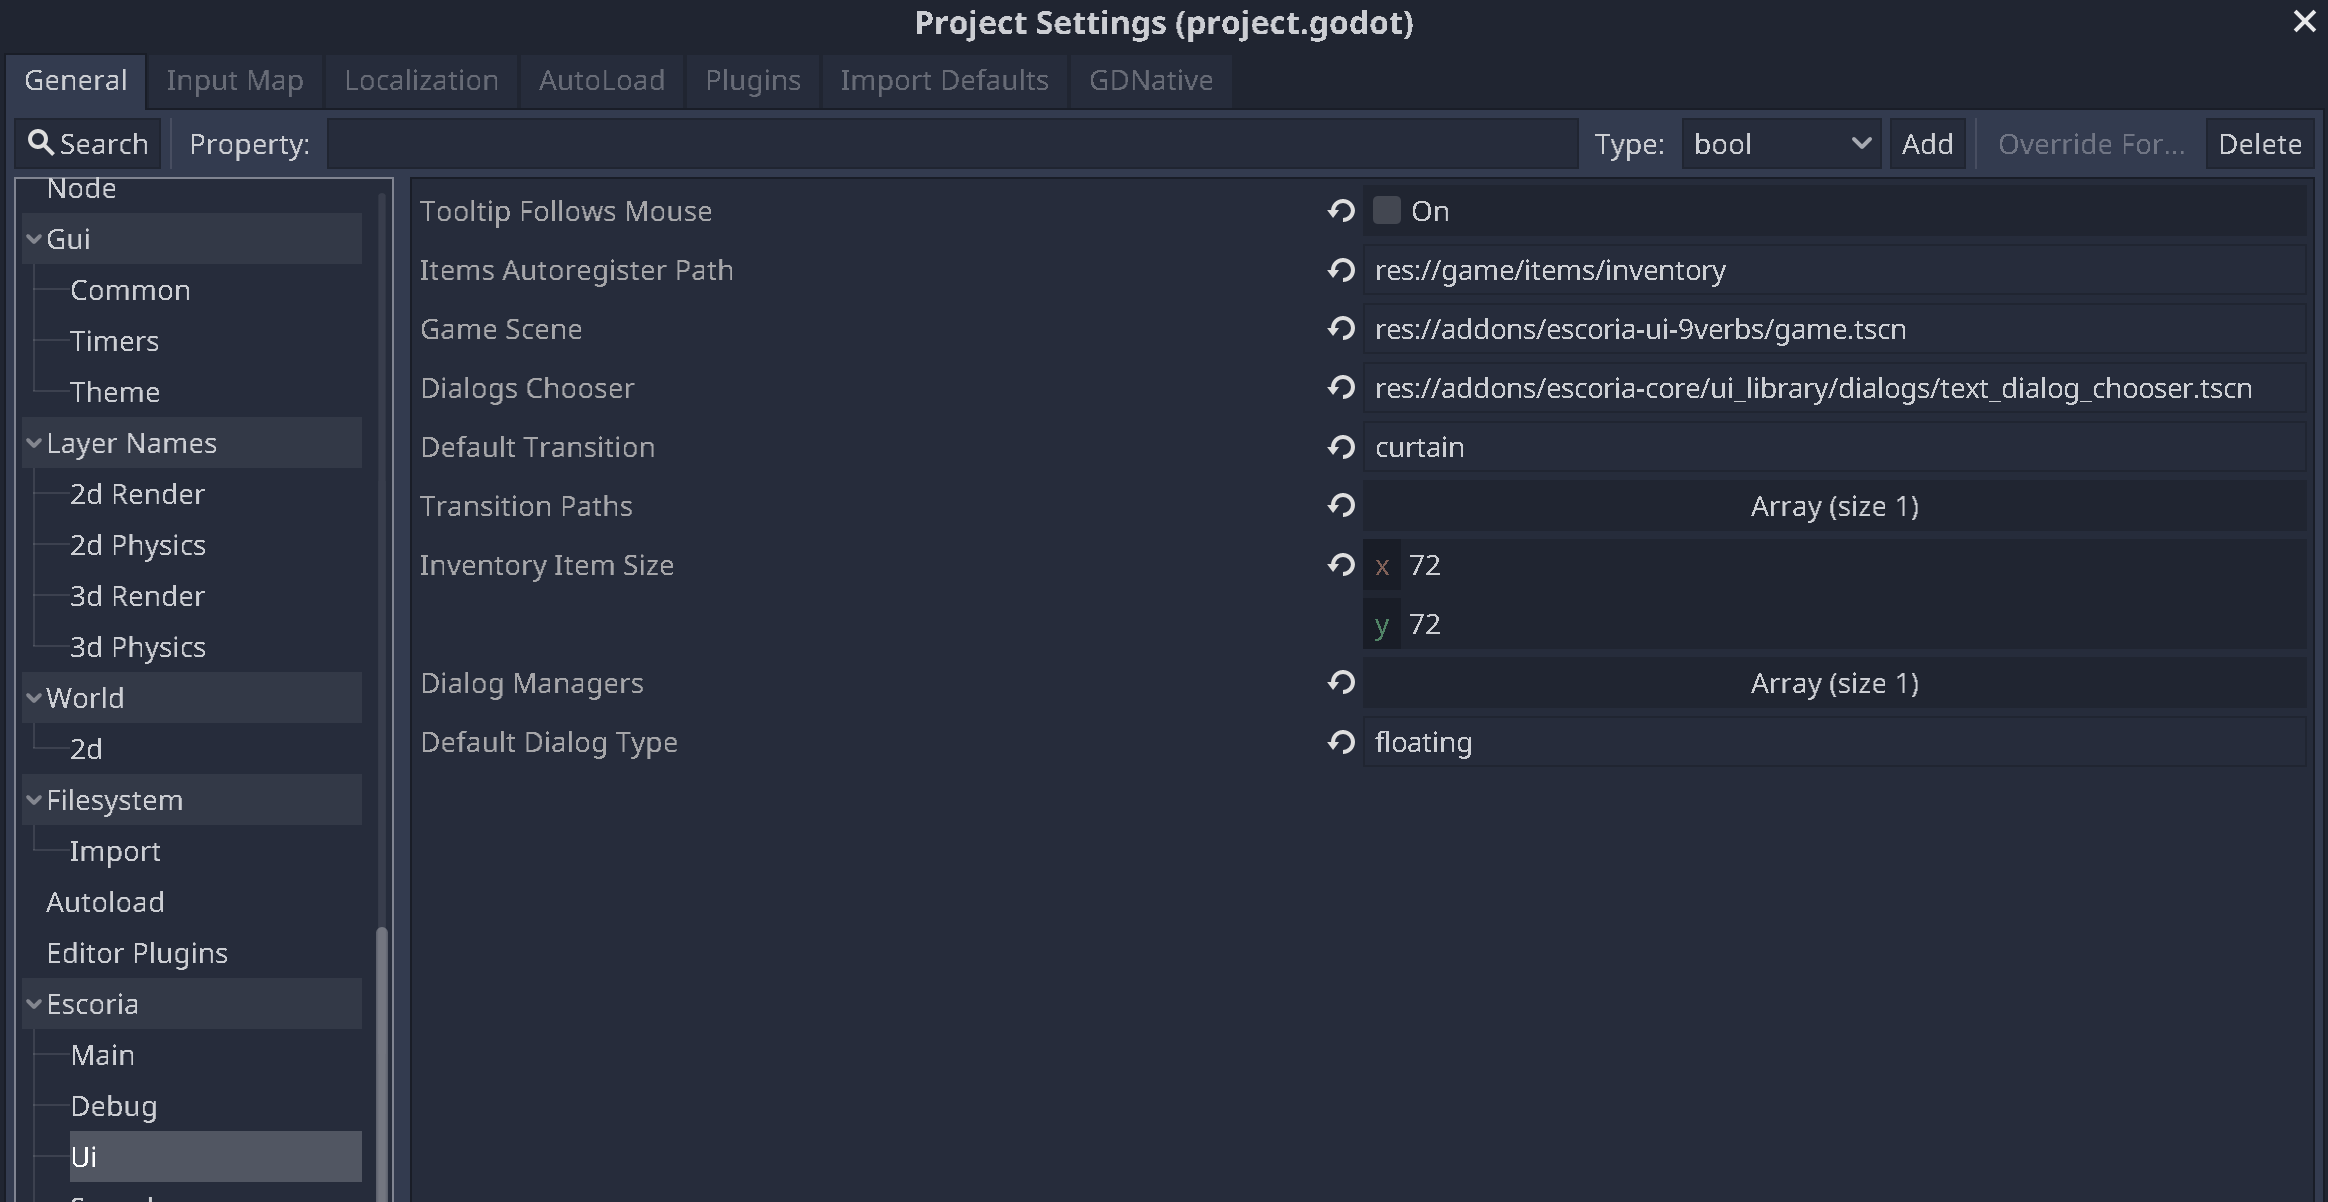
To configure the dialog manager, switch to the Project Settings and go to “Escoria/UI” to set the default dialog type parameter. The dialog type is the way a line of speech is displayed in the player.
The stock dialog manager supports the following types:
floating: The text is shown above the player sprite.
avatar: The text is shown in a UI box with the player avatar next to it.
If the type isn’t specified in the say command, this default type is used.
Let’s set it to “floating”.
Basic configuration
In the general project settings, make sure the Advanced Settings toggle is enabled in order to view the settings that are specific to Escoria.
Then, go to Display/Window and set the desired resolution of your game in the Viewport Width and Viewport Height settings. The Godot default is 1024x600.
The included backgrounds have a height of 956 pixels. For this guide, setup an HD resolution of 1920x1080 pixels.

Also make sure that the stretch settings are set to the following:
Mode: canvas_items (formerly “2d” in Godot 3)
Aspect: keep
Scale: 1.0
This makes sure that your game will be resized to match the resolution of the devices used by the players.

Continuing
With the basic setup done, let’s create a character!