Create a room
A room, in Escoria terminology, is an environment where the player moves around without changing the point of view or the background. You can think of it as a “shot” in filmmaking.
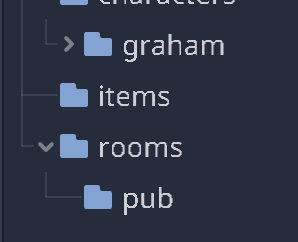
Under the game/rooms/ folder, create a new folder to contain the files of the
room scene we’ll now create. Let’s call it “pub”.
Create a new scene and set its root node to be an ESCRoom.
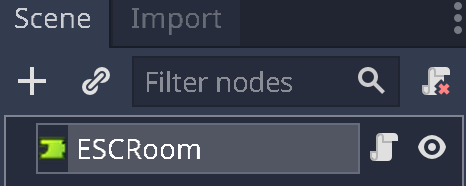
Save the scene as “pub.tscn”.
Note
You can call the scene something other than “pub.tscn” if you want - “room1.tscn” for example. Make sure you name things in a way that makes sense to your game.
Like the character we created, the room also requires a global id, so set the
property Global id to “pub”.
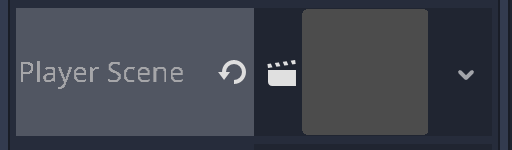
We want to play as Graham in this scene, so select it as the
Player Scene property:
Adding a background to the room
Our room requires an ESCBackground node. This node is necessary in
order to capture input events for the background of the room. It can also
display a background image. Add the node as a child of the root node.
Currently, the background node is empty. From backgrounds.zip, copy the
file “pub_bg.png” to the game/rooms directory and set it as the Texture
property in the ESCBackground node.
This will additionally set the dimensions of the ESCBackground node to the
size of the image.
Hint
Backgrounds in Escoria can also be bigger than the game display size. Escoria will take care of moving the camera around when the character reaches the border of the screen.

Setting walkable areas for the character
Usually, characters aren’t allowed to move freely around in the whole room. There may be walls and other obstacles blocking their paths.
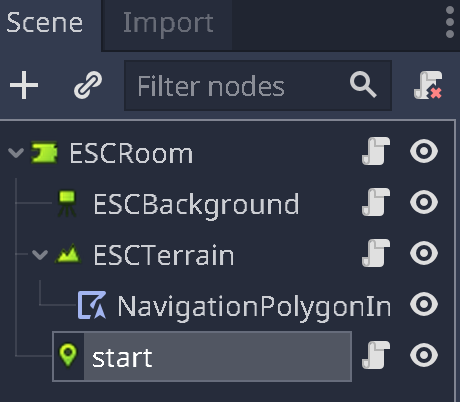
To set the areas in which characters can walk in a room, add an ESCTerrain
node to the ESCRoom node: It will manage the walkable areas as well as
other functionality such as light- and scale-mapping.
To setup a single walkable area, add a new NavigationRegion2D node
to the new ESCTerrain node:
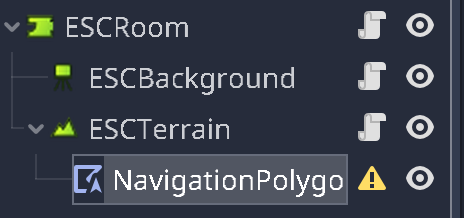
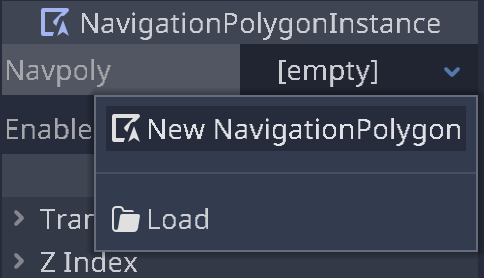
Then create a new NavigationPolygon resource for the Navigation Polygon
property in the Inspector panel.
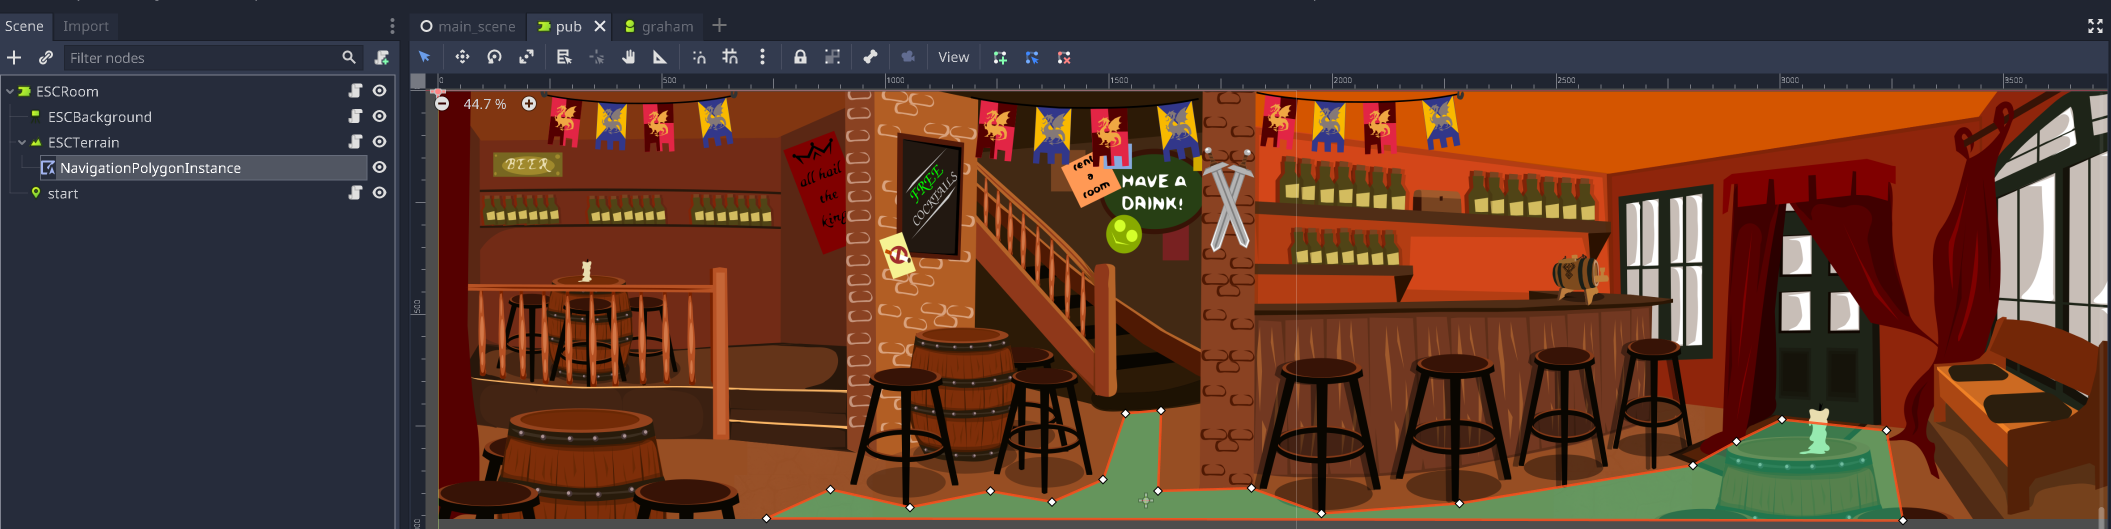
Use the editor window to draw a polygon. This polygon is the area in which the character is allowed to move around freely.
Warning
Remember that Escoria is using the character’s base position (not the character scene’s center) when moving inside the walkable areas, so watch out that navigating through the room doesn’t bring the character too close to the walls or else the character will be drawn overtop of them!
Note
Escoria supports having multiple walkable areas (represented by multiple
NavigationRegion2D instances). These can be switched by using an ASHES
command (enable_terrain) in the game.
This is useful for things like blocked passages which can be unblocked by
pressing a button in the game.
Hint
Light mapping
Rooms in adventure games sometimes don’t have one fixed global light, but instead feature things like lamp shades and darker (or lighter) areas.
This can be achieved in Escoria by setting up a light map in the
ESCTerrain node.
A light map is a simple texture in which its colors are mapped to the character’s colors as it walks around the room.
Scale mapping
If the background of the room is a three-dimensional image and the upper part of the image appears to be further away, scale mapping is used to create a three-dimensional effect when the character moves from the top to the bottom of the screen by making its sprite smaller when it’s closer to the top of the screen and bigger when the character reaches the bottom of the screen.
This is achieved in Escoria by using a greyscale texture: The darker parts of the texture are considered to be further away from the viewer while the lighter parts are considered to be closer to the viewer.
To fine tune the scaling of the character, use the Scale min and
Scale max parameters of the ESCTerrain node. The character is
scaled only between the numbers given in Scale min and Scale max,
with 0 meaning the character is scaled down to non-existence and 1
representing the actual size of the character.
Note
The scaling can also be greater than 1, which can result in scaling artifacts. Try using sufficiently large images for sprites if you require the character to appear bigger in some scenes.
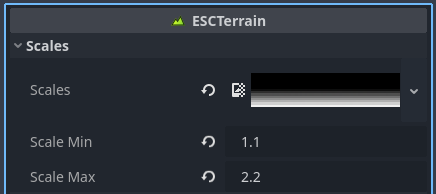
For our example, we will simply add the scale map to the pub room by
selecting its ESCTerrain node, then loading the pub_scalemap.png file
into the Scales parameter of the node in the Inspector.
For the Scale min and Scale max parameters, we suggest values of 1.1
and 2.2 respectively, but you are welcome to try different values to observe
the change in the size of the player when moving closer to or further from
the camera.
Setting camera limits
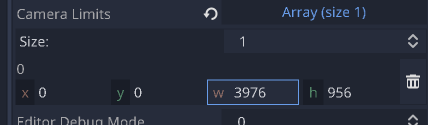
As was mentioned before, the background can be much bigger than the screen size, and in this example it really is: The background texture is 3976x956 pixels big!
However, using “Camera limits”, we can tell Escoria that it can pan over the complete background using the game camera.
Select the ESCRoom node and set the first entry of the
Camera limits property to: x = 0, y = 0, w = 3976, h = 956:
Setting a starting location
We have to tell Escoria where our character should start in the new scene.
For pointing out specific locations, we can use an ESCLocation node.
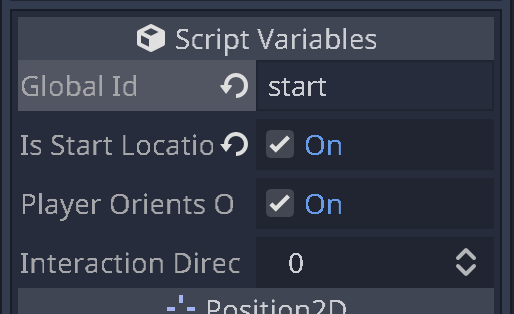
Add one to the scene and set its name to “start”, so that we know what this location represents.
Hint
It is generally recommended to give nodes a meaningful name, especially in bigger, more complex rooms. Doing so always proves to be very helpful.
In the “start” node’s properties, set the global id and select the Is start location
checkbox property.
That’s about it for the setup! Now let’s try out our new game for the first time.